Epson Printer Installation Helpful Guide
Are you facing difficulty in connecting a new Epson printer to Windows, iOS, or other devices? Don’t panic we are here with a comprehensive step-by-step guide for an easy Epson printer installation. It should be a smooth process for an excellent user experience. This blog will cover the entire Epson printer installation process. Let’s embark on the hassle-free installation journey with simple instructions.
Epson Printer Installation Process
Have you purchased a new Epson printer and looking for its setup process? Welcome to the Epson Printer Installation guide. This guide is for setting up both existing printers and new printers. Get ready to experience high-quality printing jobs with an easy-to-follow instruction guide. Say goodbye to installation woes and let's get started on setting up your Epson printer for optimal performance and efficiency. Let's dive in on setting up the Epson printer.
Two main steps needed before installing the printer to the device are:
Connecting the printer to the required device
Installing printer drivers and Apps to devices of your choice
1. Connecting the printer to the required device
Epson printer can get connected to devices in three different modes:
a) USB Cable
This is an easy way for connecting an Epson printer and computer together. A USB A-B cable is required for this connection. Connect the end part of USB cable B to the printer and the A part to the PC. It makes the Epson printer installation process easy.
b) WPS Connection
WPS connection is suitable for wireless Epson printer installation and setup process. You need a WPS pin and conveniently connect a printer not close to your system.
c) LAN Cable connection
This type of connection is workable when sharing the printer with more than one device is needed. With the help of many charging points and routers, you can create a connection.
2. Installing printer drivers and Apps to devices of your choice
Installing the Epson printer driver to the preferred device is a simple yet important process. This setup process ensures seamless printing experiences and helps to bring documents and images to life. Now learn how to install an Epson printer on Windows 10, iPad, or iPhone with a supporting App.
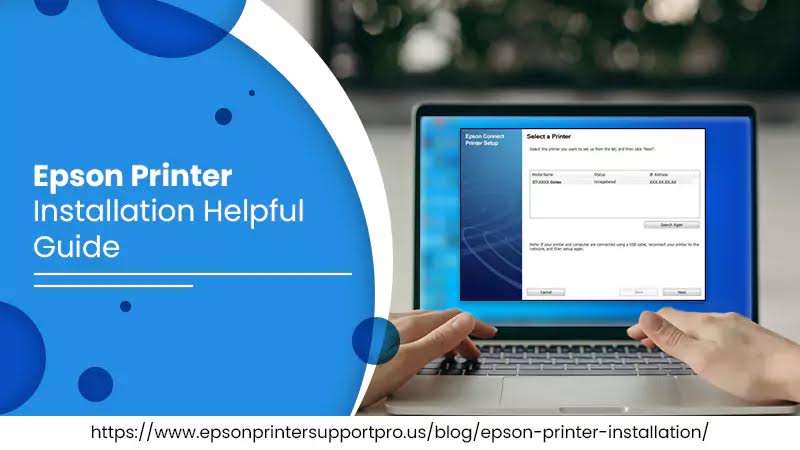
Setting Epson printer on Windows 10
It is easy to download and use Epson’s utility tool to install an Epson printer on Windows.
Follow these steps to set up an Epson printer on Windows 10:
First, download and install the Epson Printer Setup Connect Utility.
Agreeing to the license agreement, click the ‘ Next’ button.
Press ‘Finish installation’.
Select the Epson printer model and click ‘Next’.
Enter the Epson printer model and click ‘Agree’.
After registration sign in to ‘Epson Printer Setup Connect Utility account’.
In the utility account add the new printer model.
Click ‘Close’.
Setting Epson printer on iPhone & iPad
With the help of the setup application, it is easy to Install the Epson printer on iPhone & iPad.
Follow these steps to install the Epson printer on iPhone & iPad:
On your preferred device iPhone or iPad, download the print application
Click the app store icon on your iOS device.
Navigate the search catch located at the monitor's base.
Enter "Epson printer" into the search bar and then hit ‘Search’. option
Download it and introduce the application after.
At the end launch the Epson print application.
Hence, the Epson printer setup is ready to perform.
Conclusion:
To ensure successful Epson printer installation and setup make sure devices are connected with the printer. If facing any trouble in the installation process, connect with the expert team of Epson printer for further help. Say goodbye to installation woes and get started on setting up your Epson printer.


Comments
Post a Comment